Centos7安装gitLab
# 基础环境
centos7
gitLab-ce-13.8.4
# 卸载gitLab
**注意:**之前未安装可跳过此步骤
停止gitLab
#停止gitLab
gitlab-ctl stop
#查看状态
gitlav-ctl status
1
2
3
4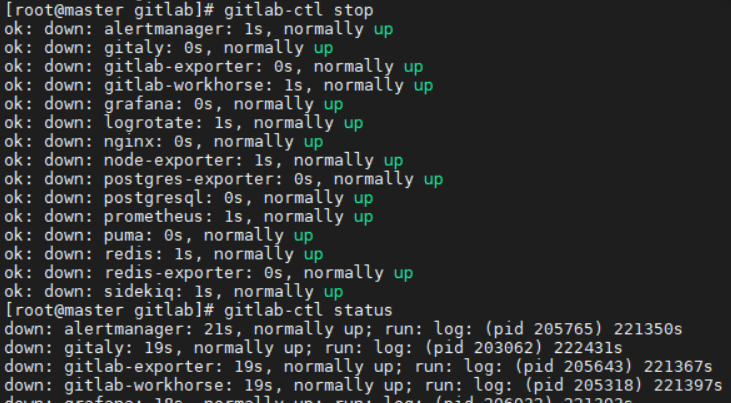
输出以上结果说明停止成功
**卸载gitlab **
rpm -e gitlab-ce1查看gitlab进程
ps -ef | grep gitlab1停止带有多个.....的进程
kill -9 2021081删除gitlab相关文件
find / -name gitlab | xargs rm -rf1
# 安装依赖库
#安装依赖
yum install -y curl policycoreutils opensh-server

#打开http,https,ssh访问
systemctl enable sshd
systemctl start sshd
firewall-cmd --permanent --add-service=http
firewall-cmd --permanent --add-service=https
systemctl reload firewall

#安装postfix 用来邮件通知
yum install -y postfix
systemctl enable postfix
systemctl start postfix
2
3
4
5
6
7
8
9
10
11
12
13
14
15
postfix-2.10.1-6.el7.x86_64 has missing requires of libmysqlclient.so.18()(64bit) postfix-2.10.1-6.el7.x86_64 has missing requires of libmysqlclient.so.18(libmysqlclient_18)(64bit) 若出现以上错误,下载Percona-XtraDB-Cluster-shared-55-5.5.37-25.10.756.el6.x86_64.rpm并且安装
wget http://www.percona.com/redir/downloads/Percona-XtraDB-Cluster/5.5.37-25.10/RPM/rhel6/x86_64/Percona-XtraDB-Cluster-shared-55-5.5.37-25.10.756.el6.x86_64.rpm

rpm -ivh Percona-XtraDB-Cluster-shared-55-5.5.37-25.10.756.el6.x86_64.rpm
2
3
4
libmysqlclient.so.18
wget -O /usr/lib/libmysqlclient.so.18 http://files.directadmin.com/services/es_7.0_64/libmysqlclient.so.18
postfix启动失败 修改/etc/postfix/main.cf
myhostname = localhost  //76行,将等号后面的部分改写为本机主机名
mydomain = 51yip.com   //82行,设置域名
myorigin = $mydomain   //97行,把$myhostname改为$mydomain
inet_interfaces = all  //112行,把后面的localhost改成all
mydestination = $myhostname, localhost.$mydomain, localhost,$mydomain //163行,把前面的注释拿掉,并加一下$mydomain
mynetworks = 192.168.0.0/24, 127.0.0.0/8  //263行,设置内网和本地IP
local_recipient_maps =  //209行,把前面的注释拿掉。
smtpd_banner = $myhostname ESMTP unknow //568行,把前面的注释拿掉,然后把$mail_name ($mail_version)改成unknow

//在main.cf文件的底部加上以下内容
smtpd_sasl_auth_enable = yes     //使用SMTP认证
broken_sasl_auth_clients = yes   //让不支持RFC2554的smtpclient也可以跟postfix做交互。
smtpd_sasl_local_domain = $myhostname  // 指定SMTP认证的本地域名
smtpd_sasl_security_options = noanonymous //取消匿名登陆方式
smtpd_recipient_restrictions = permit_mynetworks, permit_sasl_authenticated, reject_unauth_destination //设定邮件中有关收件人部分的限制
smtpd_sasl_security_restrictions = permit_mynetworks, permit_sasl_authenticated, reject_unauth_destination //设置允许范围
message_size_limit = 15728640     //邮件大小
mailbox_transport=lmtp:unix:/var/lib/imap/socket/lmtp   //设置连接cyrus-imapd的路径
2
3
4
5
6
7
8
9
10
11
12
13
14
15
16
17
18
# 安装gitLab-ce
官方链接:https://packages.gitlab.com/gitlab/gitlab-ce?utm_source=ld246.com
国内镜像:https://mirrors.tuna.tsinghua.edu.cn/gitlab-ce/yum/
注意:
EL6是Red Hat 6.x,CentOS 6.x和CloudLinux 6.x的下载
EL7是Red Hat 7.x,CentOS 7.x和CloudLinux 7.x的下载
EL8是Red Hat 8.x,CentOS 8.x和CloudLinux 8.x的下载
#weget下载,已安装可跳过此步骤
 yum -y install wget

#下载13.8.4.el7版本
 wget https://mirrors.tuna.tsinghua.edu.cn/gitlab-ce/yum/el7/gitlab-ce-13.8.4-ce.0.el7.x86_64.rpm

#下载后 执行安装
rpm -ivh gitlab-ce-13.8.4-ce.0.el7.x86_64.rpm
2
3
4
5
6
7
8
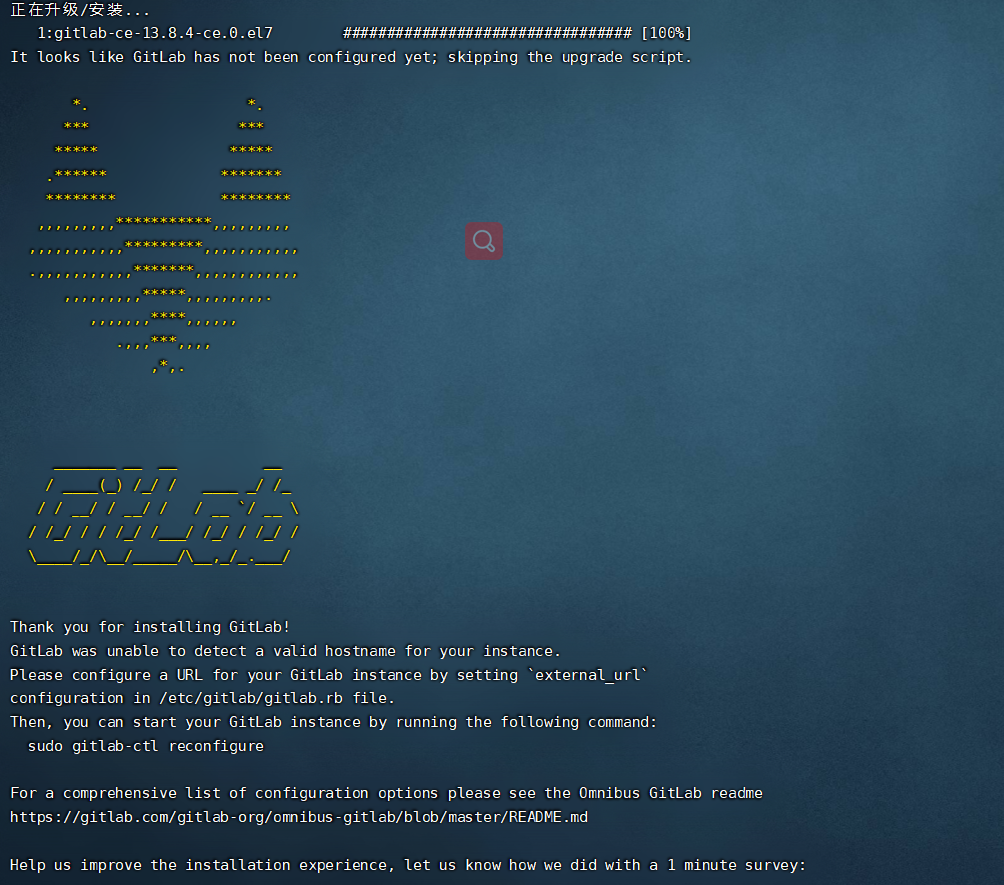
出现上方logo说明安装成功
# 启动gitLab
修改配置文件
vim /etc/gitlab/gitlab.rb

#修改url
#格式:external_url 'http://ip:端口'
external_url 'http://192.168.2.130:10000'
#配置时区
gitlab_rails['time_zone'] = 'Asia/Shanghai'
1
2
3
4
5
6
7开放端口
# 开放10000端口
firewall-cmd --zone=public --add-port=10000/tcp --permanent
1
2重启防火墙
firewall-cmd --reload1查看端口是否开启
firewall-cmd --query-port=10000/tcp1重新编译配置
gitlab-ctl reconfigure1重启gitLab
#重新启动
gitlab-ctl restart
1
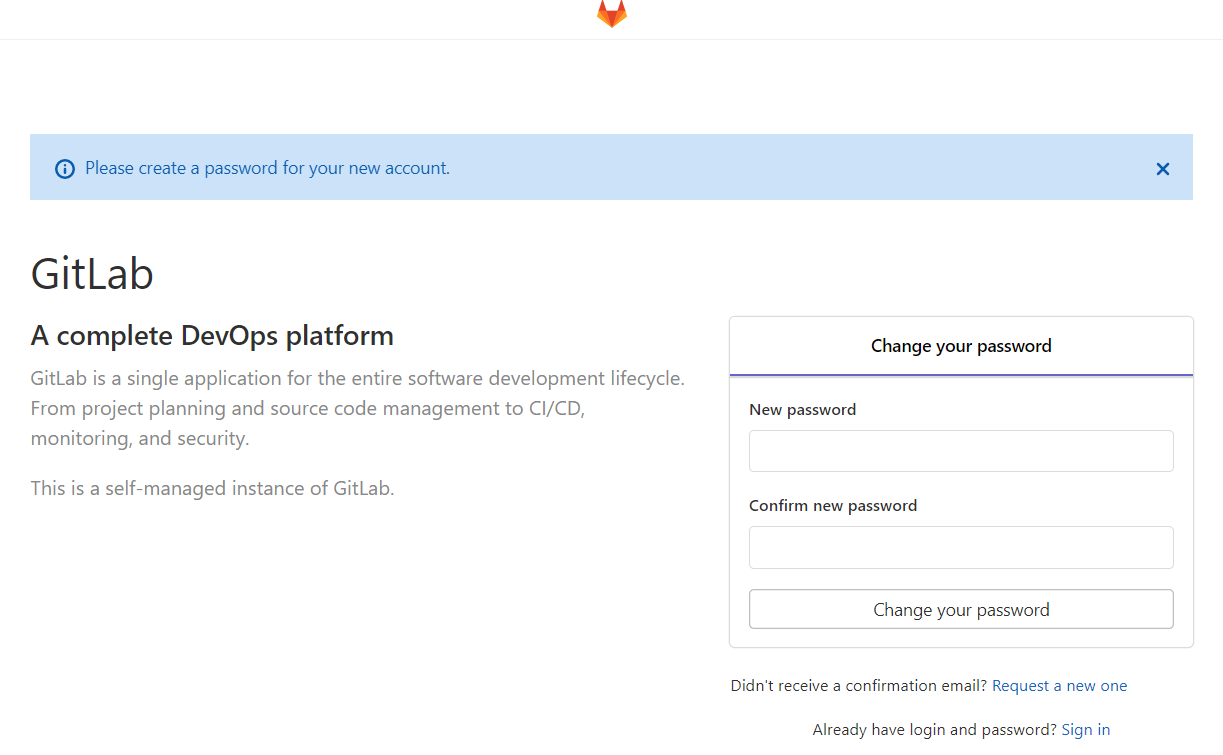
2访问配置的url
进入gitlab设置密码,密码最少设置8位数,方便记忆这里设置为admin12345,用户名默认root
# gitLab常用命令
gitlab-ctl reconfigure                            # 重新编译配置
gitlab-ctl start                                  # 启动
gitlab-ctl stop                                   # 停止
gitlab-ctl restart                                # 重启
gitlab-ctl status                                 # 查看状态
vim /etc/gitlab/gitlab.rb                         # 修改配置
gitlab-rake gitlab:check SANITIZE=true --trace    # 检查gitlab
2
3
4
5
6
7